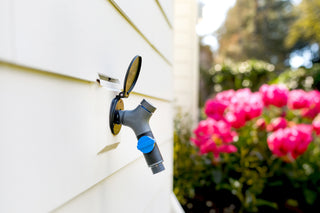
Project Highlights: Daniel Woodell House Hydrant V2+ Retrofit Install in Port Orchard
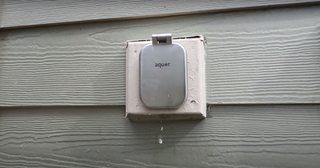
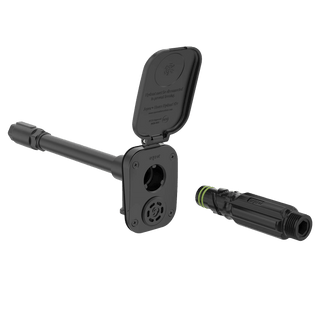
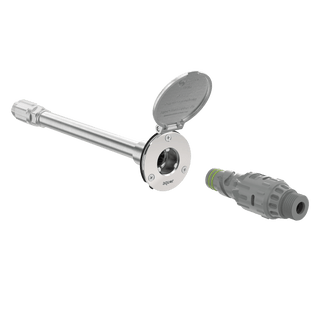
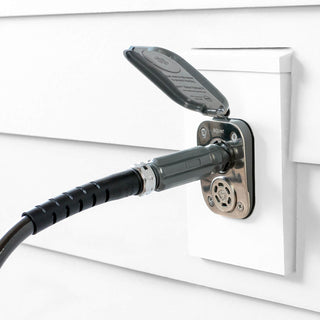
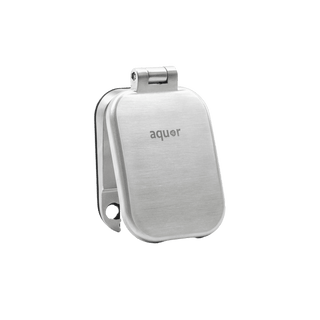
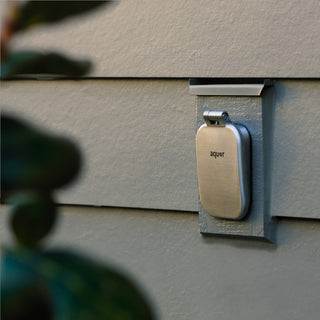
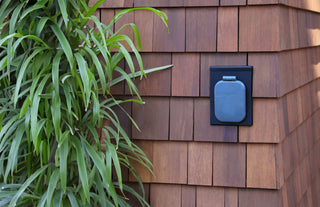
Daniel Woodell installed a sleek Aquor Water Systems House Hydrant V2+ for efficient outdoor water access on his Port Orchard, Washington property.
Daniel’s old hose bib froze and cracked, so it was time for a DIY project upgrade!
 The cracked, leaking spigot.
First, Daniel turned off the water inside the garage and drained out excess water from his old spigot.
He then unscrewed and removed the old spigot.
 Removing the screws securing the old hose bib.
Daniel lined up the included Hydrant mounting sticker, then predrilled the mounting screw holes.  Lining up the Hydrant mounting sticker.
 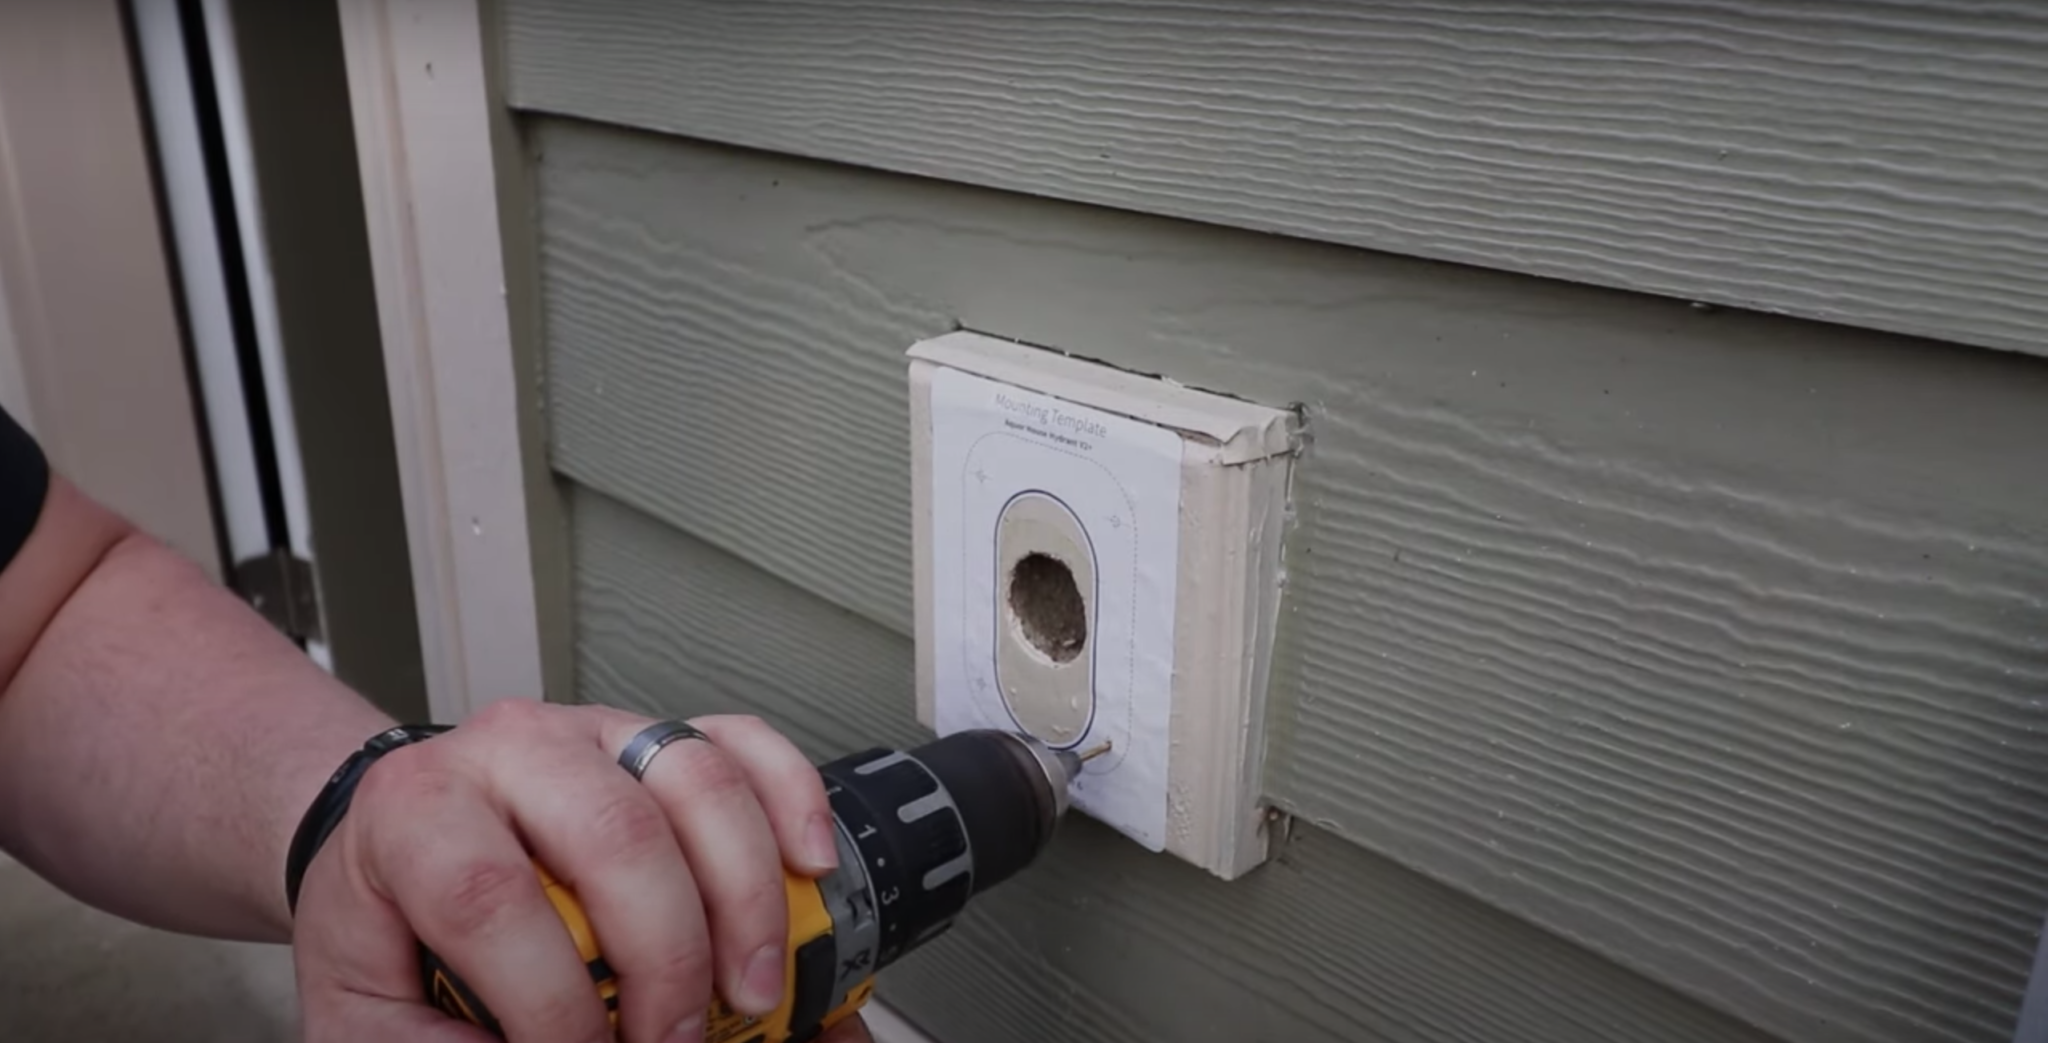 Pre-drilling for the screws.
He used an 1-1/2″ hole saw and a jigsaw to cut the Hydrant entry hole.  Using a hole saw to cut the Hydrant entry hole.
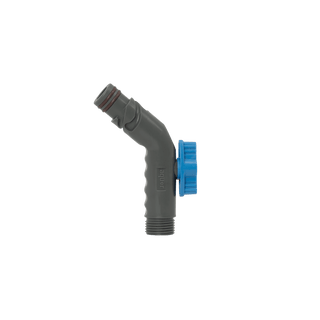
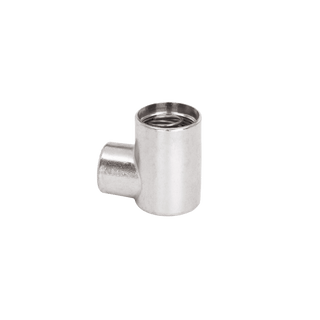
For Daniel’s install, he attached a 90 degree elbow inlet to the end of the Hydrant. His piping is located above the Hydrant’s location in the wall, so he adjusted the 90 degree elbow to direct upwards.  SharkBite fitting for easy plumbing connection.
He wrapped teflon tape around a SharkBite fitting before securing the fitting to the end of the elbow.  Wrapping teflon tape around the fitting.
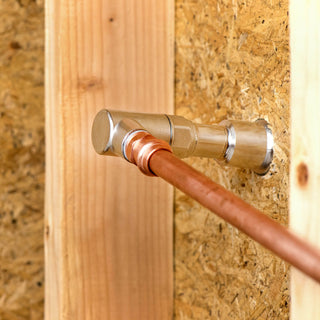
  The House Hydrant with a 90 degree elbow inlet and SharkBite fitting.
After placing the Hydrant debris cover behind the Hydrant faceplate and loosely securing the Hydrant to the wall, he returned to the inside of the garage to connect the plumbing.  Loosely screwing the Hydrant in place before connecting the plumbing.
Daniel opened up his interior wall to access the plumbing, then cut the existing PEX tubing to fit.  Cut PEX tubing, ready for new connection.
He returned to the exterior of the garage, loosened the screw holding the Hydrant in place, then connected his PEX plumbing to the SharkBite fitting.  PEX connected to the SharkBite fitting.
After turning the water back on, Daniel screwed the Hydrant into place.  Screwing the Hydrant into place.
Easy water access, plus no freezing!  Ready to go!
“Daniel Woodell brings the do-it-yourself mindset to all things at home in your life. This channel is loaded with exciting projects that help you make the most of your technology at home and away from home.”  Time to test out the new Hydrant.
View Daniel’s House Hydrant install video here, and see what he is up to on Instagram.  It works!


