How-to: Change Your Aquor Debris Cover
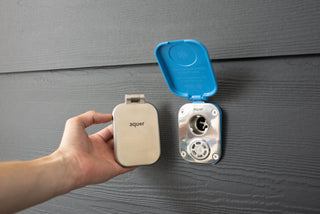
Wanting to upgrade your Aquor debris cover or simply switch up your Hydrant’s look? We’ve got you covered!
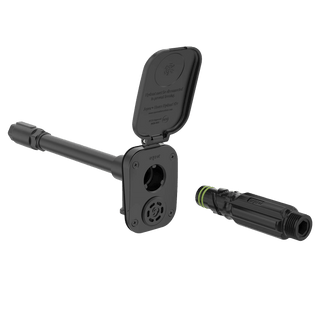
Follow the steps below to change out the V1, V1+, V2, or V2+ Aquor debris cover.
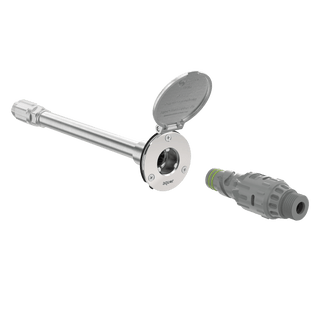
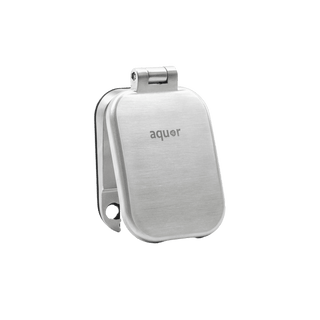
 In this demonstration, we will be swapping out the Aquor V2+ blue debris cover for a stainless steel cover.

Unscrew the old cover.

All of the screws are removed.

Carefully slide the old cover up and off.

The old cover has been removed from behind the Hydrant faceplate.

Slide the new cover behind the Hydrant faceplate.

Line up the Hydrant faceplate and cover mounting holes, making sure the cover is level.

Screw the Hydrant and cover into place, partially securing all of the screws before tightening to fit.

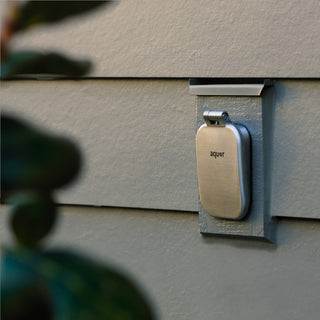
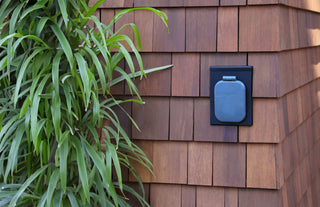
Ta-da! All set up with the new debris cover.

Look at that shiny stainless cover upgrade.
Tips:
- Adhere painter’s blue tape to the siding directly above the Hydrant to help avoid scratching the paint while sliding the old cover up and off.
- Brick will make swapping out your cover a bit more difficult without a PEX maintenance loop, so consider making upgrade decisions prior to installing your new hose bib. Lap siding may pose a similar situation for the V2 and V2+.
- If your plumbing is extremely rigid, you probably won’t have enough wiggle room to switch out your cover. If possible, when installing your Hydrant use PEX tubing for flexibility and easier maintenance down the road.

