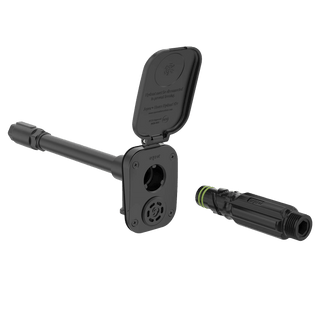
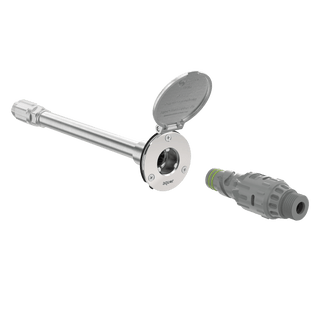
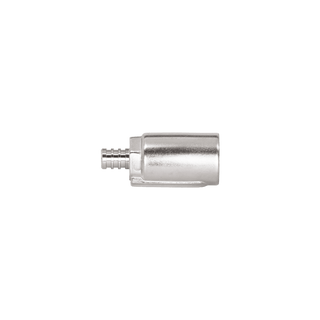
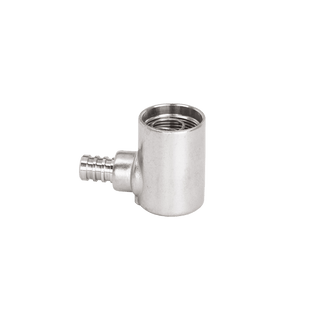
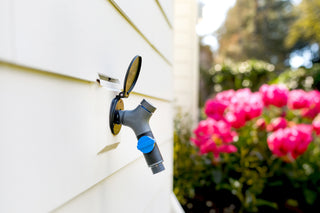
How-to: Install Your House Hydrant with a PEX Maintenance Loop
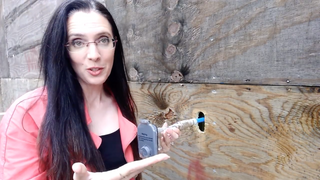
Replacing an old hose bib? Copper and CPVC plumbing don’t make the process easy, often forcing you to open up your wall in order to switch out piping.
Whether your system is leaking, completely burst, or you just want a new, modern hose bib, installing a PEX maintenance loop is a simple solution that will make your life easier moving forward.
A PEX maintenance loop is a great option if you are:
- Building a new home
- Doing a full on renovation down to framing
- Repairing a burst line or faucet due to freezing
Let’s do this!
Materials:
-
1/2″ PEX (such as Uponor’s PEX-a)
-
2″ PVC cleanout
-
2″ PVC elbow
-
2″ PVC pipe
Tools:
-
Channel locks
-
Drill
-
Hammer
-
Forstner style 2-1/4″ self-feeding drill bit for the final hole through the stud to the hose bib
-
Forstner Bit Set for making smaller, clean holes through framing—spade bits work as well
PEX is a superior plumbing material to copper, galvanized pipe, and CPVC due to its ability to bend, stand up to freezing temperatures by expanding and contracting, and its lower cost.
 PEX is very flexible and can stand up to freezing temperatures.
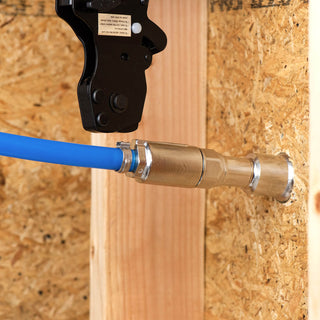
If CPVC, copper, or another plumbing material is already in place, you can use an adapter to attach the PEX loop without having to change out the rest of the plumbing.
A 2″ PVC protective plumbing sleeve serves as a curved guide, making the PEX even easier to move. The sleeve protects the hose bib and plumbing on the bottom side of the loop, and keeps the rest of the PEX loop towards the inside of the wall, remaining a safe distance from potential nails. The PVC sleeve will also prevent the PEX from curving too much and folding on itself when the hose bib is serviced.
 A PVC plumbing sleeve guides and protects the PEX.
First, create a hole in the stud by using a Forstner style 2-1/4″ self-feeding drill bit to drill out the stud in preparation for the PVC sleeve.
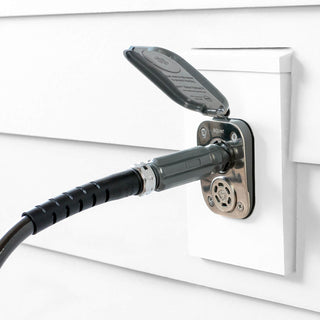
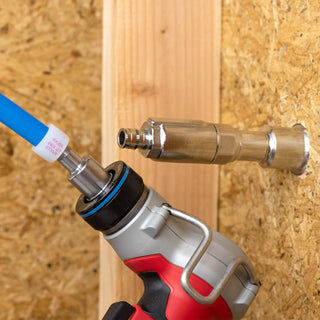
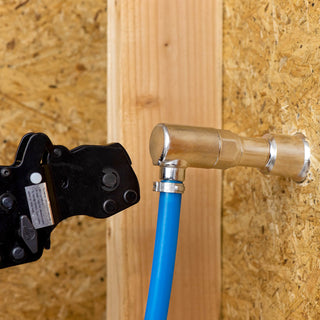
Then create a PEX loop guide by attaching a PVC elbow to a PVC cleanout, which will connect to a straight PVC pipe leading outside—the hose bib connects to the PEX inside the protective pipe.  The hose bib connects to the PEX inside the protective PVC plumbing sleeve.
Location, location, location.
An expansion maintenance loop must be installed within a wall. In other words, where an interior wall is perpendicular to an exterior wall.  The PEX requires a full bay within a framed interior wall, perpendicular to the exterior wall.
The loop needs space to expand, contract, and extend, requiring a full bay within a framed wall.
If the hose bib extends out from an unfinished basement, the PEX maintenance loop can be positioned along the wall or between floor joists.  Talon clips keep the PEX in place.
A PEX maintenance loop allows any faucet or supply line endpoint to be serviced with ease. There will be plenty of space to pull out a frost-free House Hydrant while replacing a failing part.  PEX makes plumbing maintenance easy.
Need more pipe because there’s a leak? Not to worry, you can cut off several inches of PEX and still have feet to spare.
View Just Needs Paint’s blog and video to learn more about PEX installation.
Matt Risinger from The Build Show recommends using PEX with Aquor House Hydrants for easy maintenance.

