Project Highlights: House Hydrant V2+ Retrofit Install in Bellevue

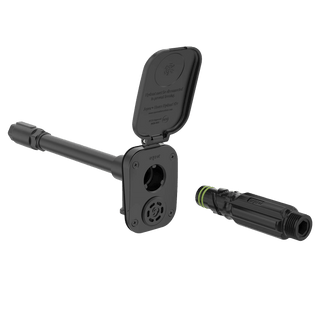
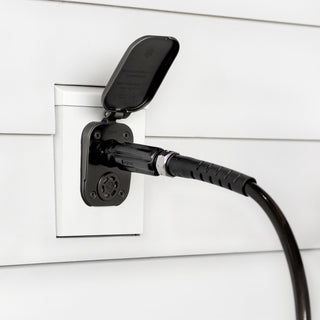
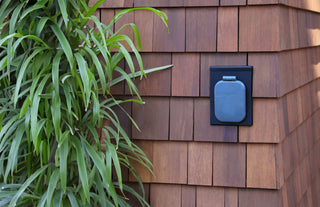
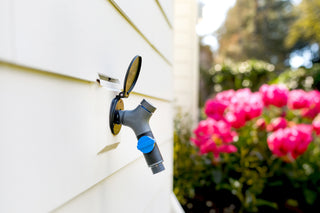
A local plumber installed Aquor’s House Hydrant V2+ Black Edition on a 1960s remodel located in beautiful Bellevue, Washington.
The owner wanted a new, modern hose bib for his home—the sleek V2+ was an obvious choice.
The house is plumbed with copper, and the V2+, along with other new features, was installed using PEX for easy maintenance.
These additions required adapting copper to PEX.
 This 1960s remodel was in need of a new, modern hose bib.
First, the plumber cut an access hatch in the drywall and turned off the water. Then he disconnected the old hose bib from the 1/2″ copper plumbing.  Disconnect the hose bib from the interior plumbing.
He removed the old hose bib from the exterior wall.  Remove the old hose bib from the wall outside.
Next, he marked out the V2+ footprint.  Measure for the new House Hydrant.
Then he used a 1-1/2″ hole saw to fit the V2+.  Create an entry hole for the new House Hydrant.
With the footprint cut, the plumber test fit the Hydrant, making sure everything was level and the debris cover was placed behind the Hydrant faceplate.  Fit the House Hydrant to the wall.
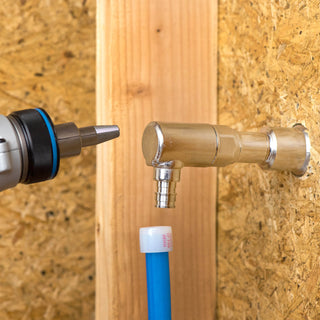
Once the Hydrant and cover were lined up correctly, the plumber secured the Hydrant to the wall with the provided black stainless steel #10 screws.  Drill the new House Hydrant into place.
The home owner and plumber opted for a 4-inch V2+, as it was the best fit based on the home’s siding and wall depth.
For this job, the plumber needed to connect the Hydrant to the copper plumbing through the adjacent stud, so he cut another hole for proper placement.
He made a PEX adaption from the copper pipe to the Hydrant.
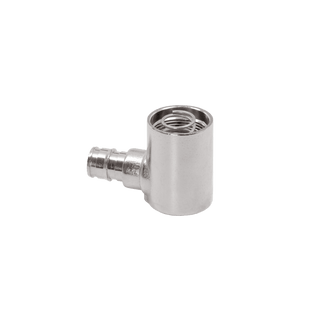
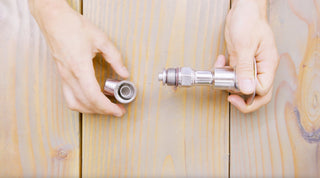
To make the connection, he began by threading a 90° PEX expansion to a 1/2″ NPT fitting wrapped with teflon tape.
Then he soldered a 1/2″ PEX expansion fitting to the copper water pipe.  Solder the plumbing to join.
With the two PEX expansion fittings installed—one on the Hydrant end, and one on the copper water pipe end—the plumber completed the connection with a length of PEX, using his expansion fitting tool.  PEX to copper plumbing.
Once the new Hydrant was connected, he waited a few minutes for the fittings to fully settle in before turning the water back on and checking for leaks.
No leaks! It was time to test the Hydrant.  Test the newly installed House Hydrant V2+.
The new Hydrant was good to go, and the drywall hatch was patched. Instant water access made easy.
View the install video, and learn how to replace a standard hose bib with the House Hydrant V2+.
Installing the House Hydrant V1? See these easy steps and view the how-to video.

