Project Highlights: Rad Dad Builds House Hydrant V1+ Retrofit Install in Canada
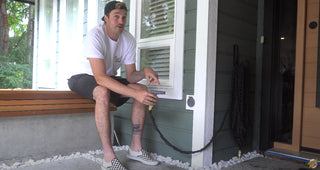
Nick of Rad Dad Builds YouTube channel and blog installed an Aquor Water Systems House Hydrant V1+ for “rad” outdoor water access on his Duncan BC property.
Nick swapped out his old hose bib and installed the V1+ using PEX plumbing to connect his new modern Hydrant, making the install a totally doable DIY project!Before beginning the install, Nick made sure to turn off the water supply to the faucet. Nick’s shutoff valve is located in his home’s crawl space.
He then drained all the water out of the old hose bib until it stopped dripping.  The old hose bib.
Nick was working on other home projects, so the relevant indoor plumbing was already exposed and all set for the update.
After draining the pipes, he cut the pipe leading out to the hose bib in order to remove the old outdoor faucet.  Cutting the plumbing to remove old hose bib.
  Pulling the disconnected hose bib out of the exterior wall.
Nick fashioned a mounting block made from the same material as the existing trim to allow for an even install surface, since the Hydrant would be overlapping the trim based on the location of the plumbing. 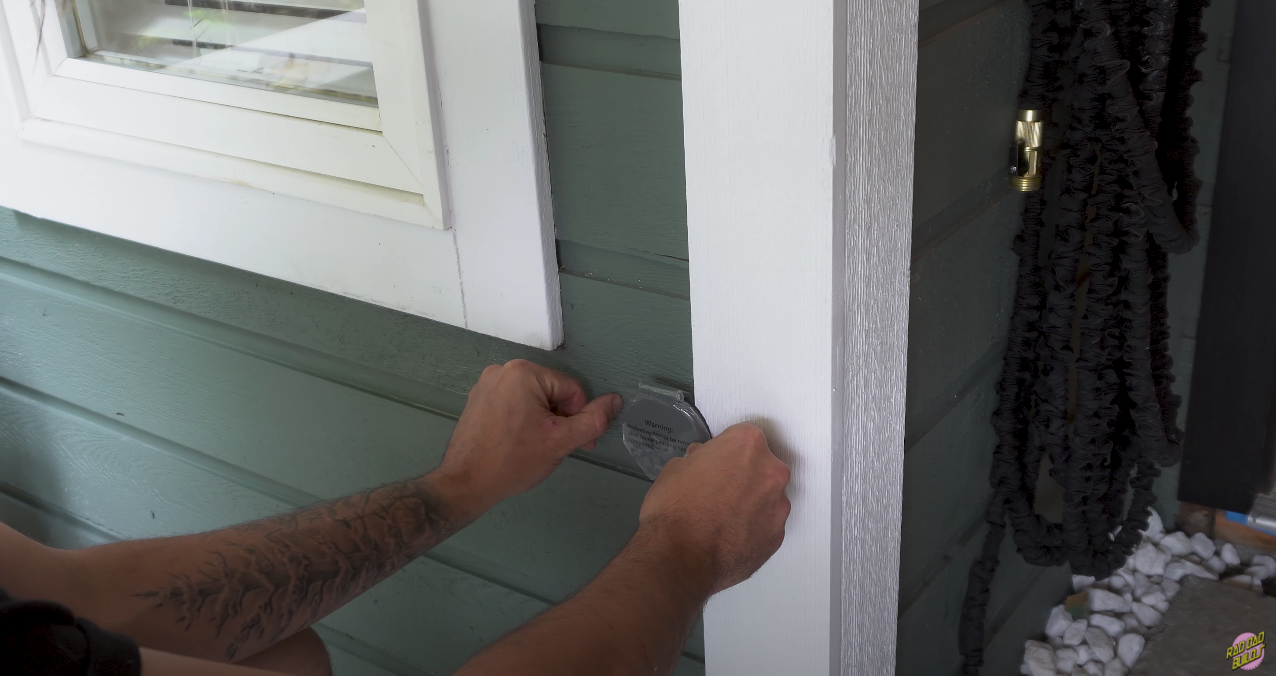 Lining up the new House Hydrant.
  Creating a mounting block.
  Positioning the new hose bib on the mounting block and trim.
 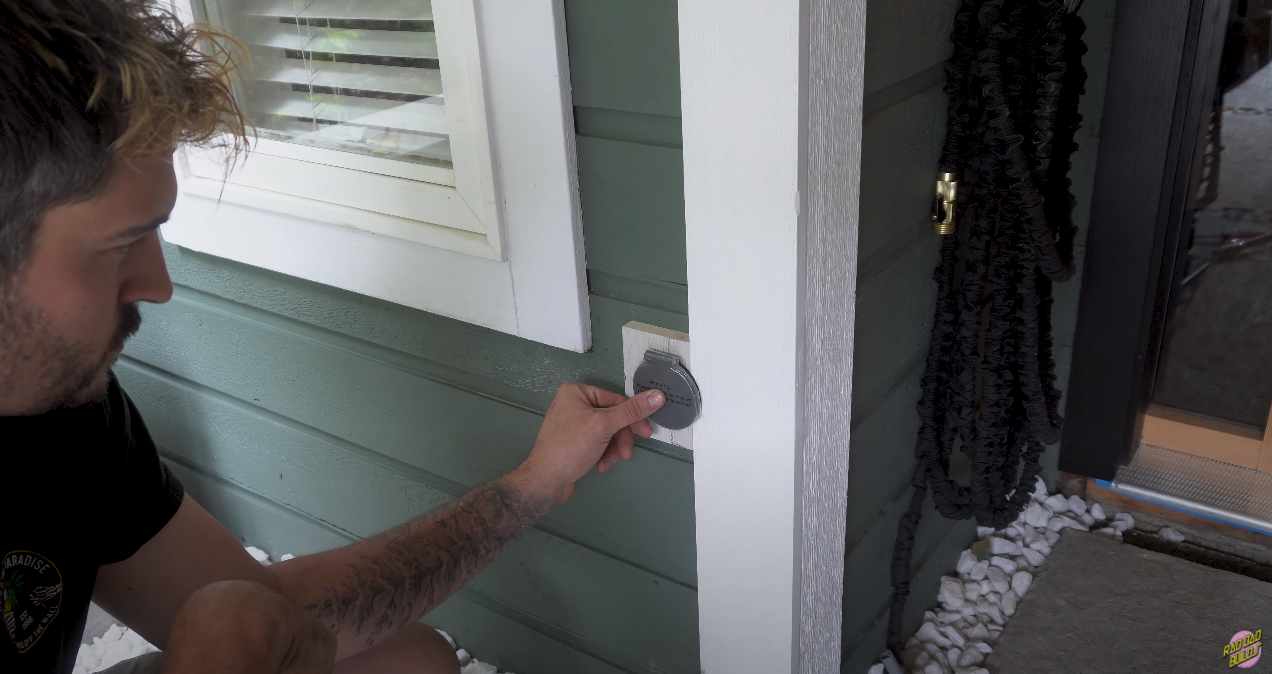 The mounting block is cut to lay flat with the trim.
Using a silicone caulk, he sealed up around the block then glued it in place. 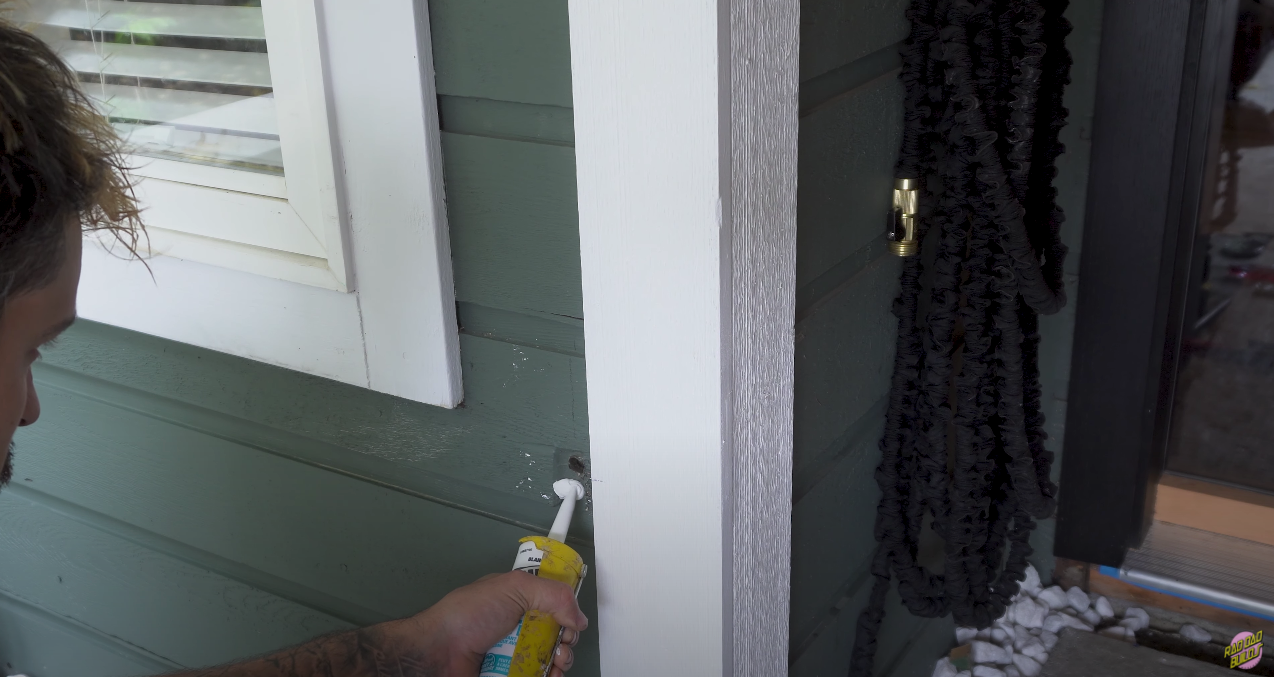 Putting down caulk to help secure the mounting block in place.
Nick used a couple exterior screws to hold the block permanently in place. He adjusted the mounting block so it sat flat with the existing trim, cleaned up the caulk, and filled in the holes.  Screwing the block into the siding.
Nick used the included Hydrant mounting sticker for reference while drilling the entry hole with a 1 1/2″ hole saw bit.  Positioning the included mounting template.
  Drilling the Hydrant entry hole with a hole saw.
Once the hole was drilled, he used the mounting sticker again for reference while pre-drilling for the screws.  Using the included template while pre-drilling.
He touched up the white paint as needed.  Touching up the trim and mounting block with white paint.
Nick used a 1/2″ thread to 1/2″ PEX adapter to connect the Hydrant to his plumbing.
He wrapped the thread of the adapter with teflon tape then attached the adapter to the end of the Hydrant.  Wrapping the adapter with teflon tape.
  Securing the adapter to the end of the Hydrant.
Nick placed the Hydrant cover behind the faceplate then lined the screws up with the predrilled holes and screwed the Hydrant into place.  Screwing the Hydrant into place with the Hydrant cover positioned behind the faceplate.
Once the Hydrant was secured to the exterior of the house, he did a few touch-ups to the home’s paint.  Another quick paint touch-up.
Nick connected to the plumbing in the crawl space, then brought the PEX up through a new hole which sits closer to the existing wall.  Bringing the PEX plumbing up from the crawl space.
He then marked and drilled holes big enough for the plumbing to run through the studs towards the faucet.  Drilling holes for the new plumbing to run through the studs.
He cut the PEX coming up through the floor to the height of the newly drilled hole.  Cutting the PEX to the height of the newly drilled hole.
Using a PEX clamp and a 1/2″ PEX ring, Nick clamped a 1/2″ PEX elbow to the end of the freshly cut pipe.  Clamping a PEX elbow to the pipe.
Nick created a big loop of PEX going from the plumbing coming up from the crawl space out towards the new hose bib.
The PEX loop makes future maintenance easy because the excess flexible tubing allows for fixes without having to open up any walls.  Creating a PEX loop for easy maintenance.
Using a PEX clamp and a ring, he clamped the PEX to the House Hydrant.  Securing the PEX loop to the Hydrant.
He then cut and connected the two PEX pipes together using the same techniques as before.  Finishing up the plumbing connection.
With all of the plumbing connected, Nick turned the water supply back on, checking for leaks before finishing up the project.
Satisfied with the install, Nick put the insulation back, peeling the insulation in half so the plumbing could sit comfortably in between.  Arranging the insulation around the PEX.
He put the moisture barrier in place and will finish up the interior walls later. Sealing up the moisture barrier.
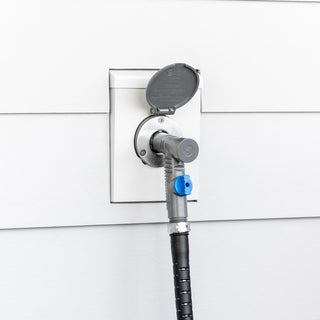
The House Hydrant install is now complete! Looking good!
  Time to test out the new Hydrant.
Nick, originally from Cornwall UK, is a woodworker and content creator living on the West Coast of North America. Join Nick AKA Rad Dad Builds as he renovates, remodels, and designs the spaces he loves, sharing home renovation tips along the way.  Plug and go!
View Nick’s House Hydrant install video here.
Check out Nick’s blog, and see what Rad Dad Builds is up to on Instagram.  Nick and his son are a fan of their sleek new outdoor water system.


