


Aquor Ground Hydrant Install Guide
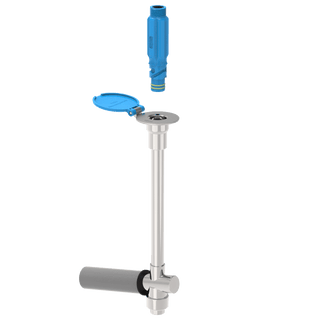
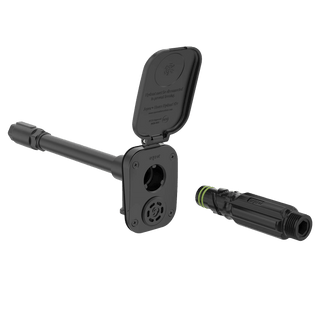
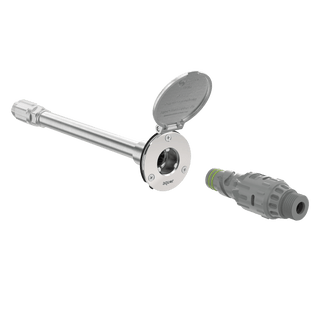
Aquor's Ground Hydrant is a freeze-proof yard hydrant system. The hydrant can be installed flush with the ground or at any height for ease of use.
The quick-connect hydrant automatically self-drains once disconnected, purging any dirt and small debris in the process, so little to no maintenance is required. Plus, you can mow right over it. It's available in blue (or gray upon request) as well as five lengths to accommodate different climates: 12”, 18”, 24”, 36”, and 48”.

Tools and supplies for Ground Hydrant installation
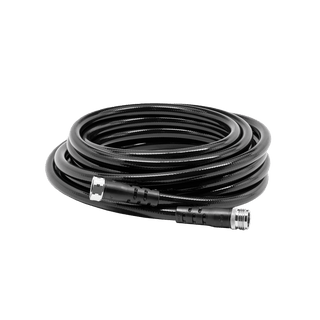
- In-ground plumbing lines
- A shovel
- Proper tools for making plumbing connections—the ground hydrant has a ½” NPT female threading
- Thread tape if making threaded plumbing connections
- A block, like a brick or cinder block, to help stabilize the bottom of the hydrant
- Medium-size gravel or drain rock
Step 1 - Dig the installation hole
Choose a location and hydrant depth, taking your region's frost line into consideration. Dig a hole for the hydrant approximately 2 ft. in diameter and 1 ft. deeper than the hydrant’s bury depth. You can install an in-ground valve box or pull box around the hydrant for additional protection and concealment.

Note: The valve at the bottom of the hydrant and the plumbing line should be buried below your area’s frost line to ensure proper drainage and freeze-protection. The installation in the image depicts a hydrant installed inside of a box.
Step 2 - Flush the plumbing
Flush the pipes to clear any debris that may have accumulated in the plumbing during installation. This is a critical step to prevent debris from jamming the hydrant’s valve. Once the line is flushed, turn off the water supply.
Step 3 - Set up a stable support block for the hydrant
Place the hydrant and inlet connection on top of a heavy block to support the hydrant and prevent potential damage to the supply line.
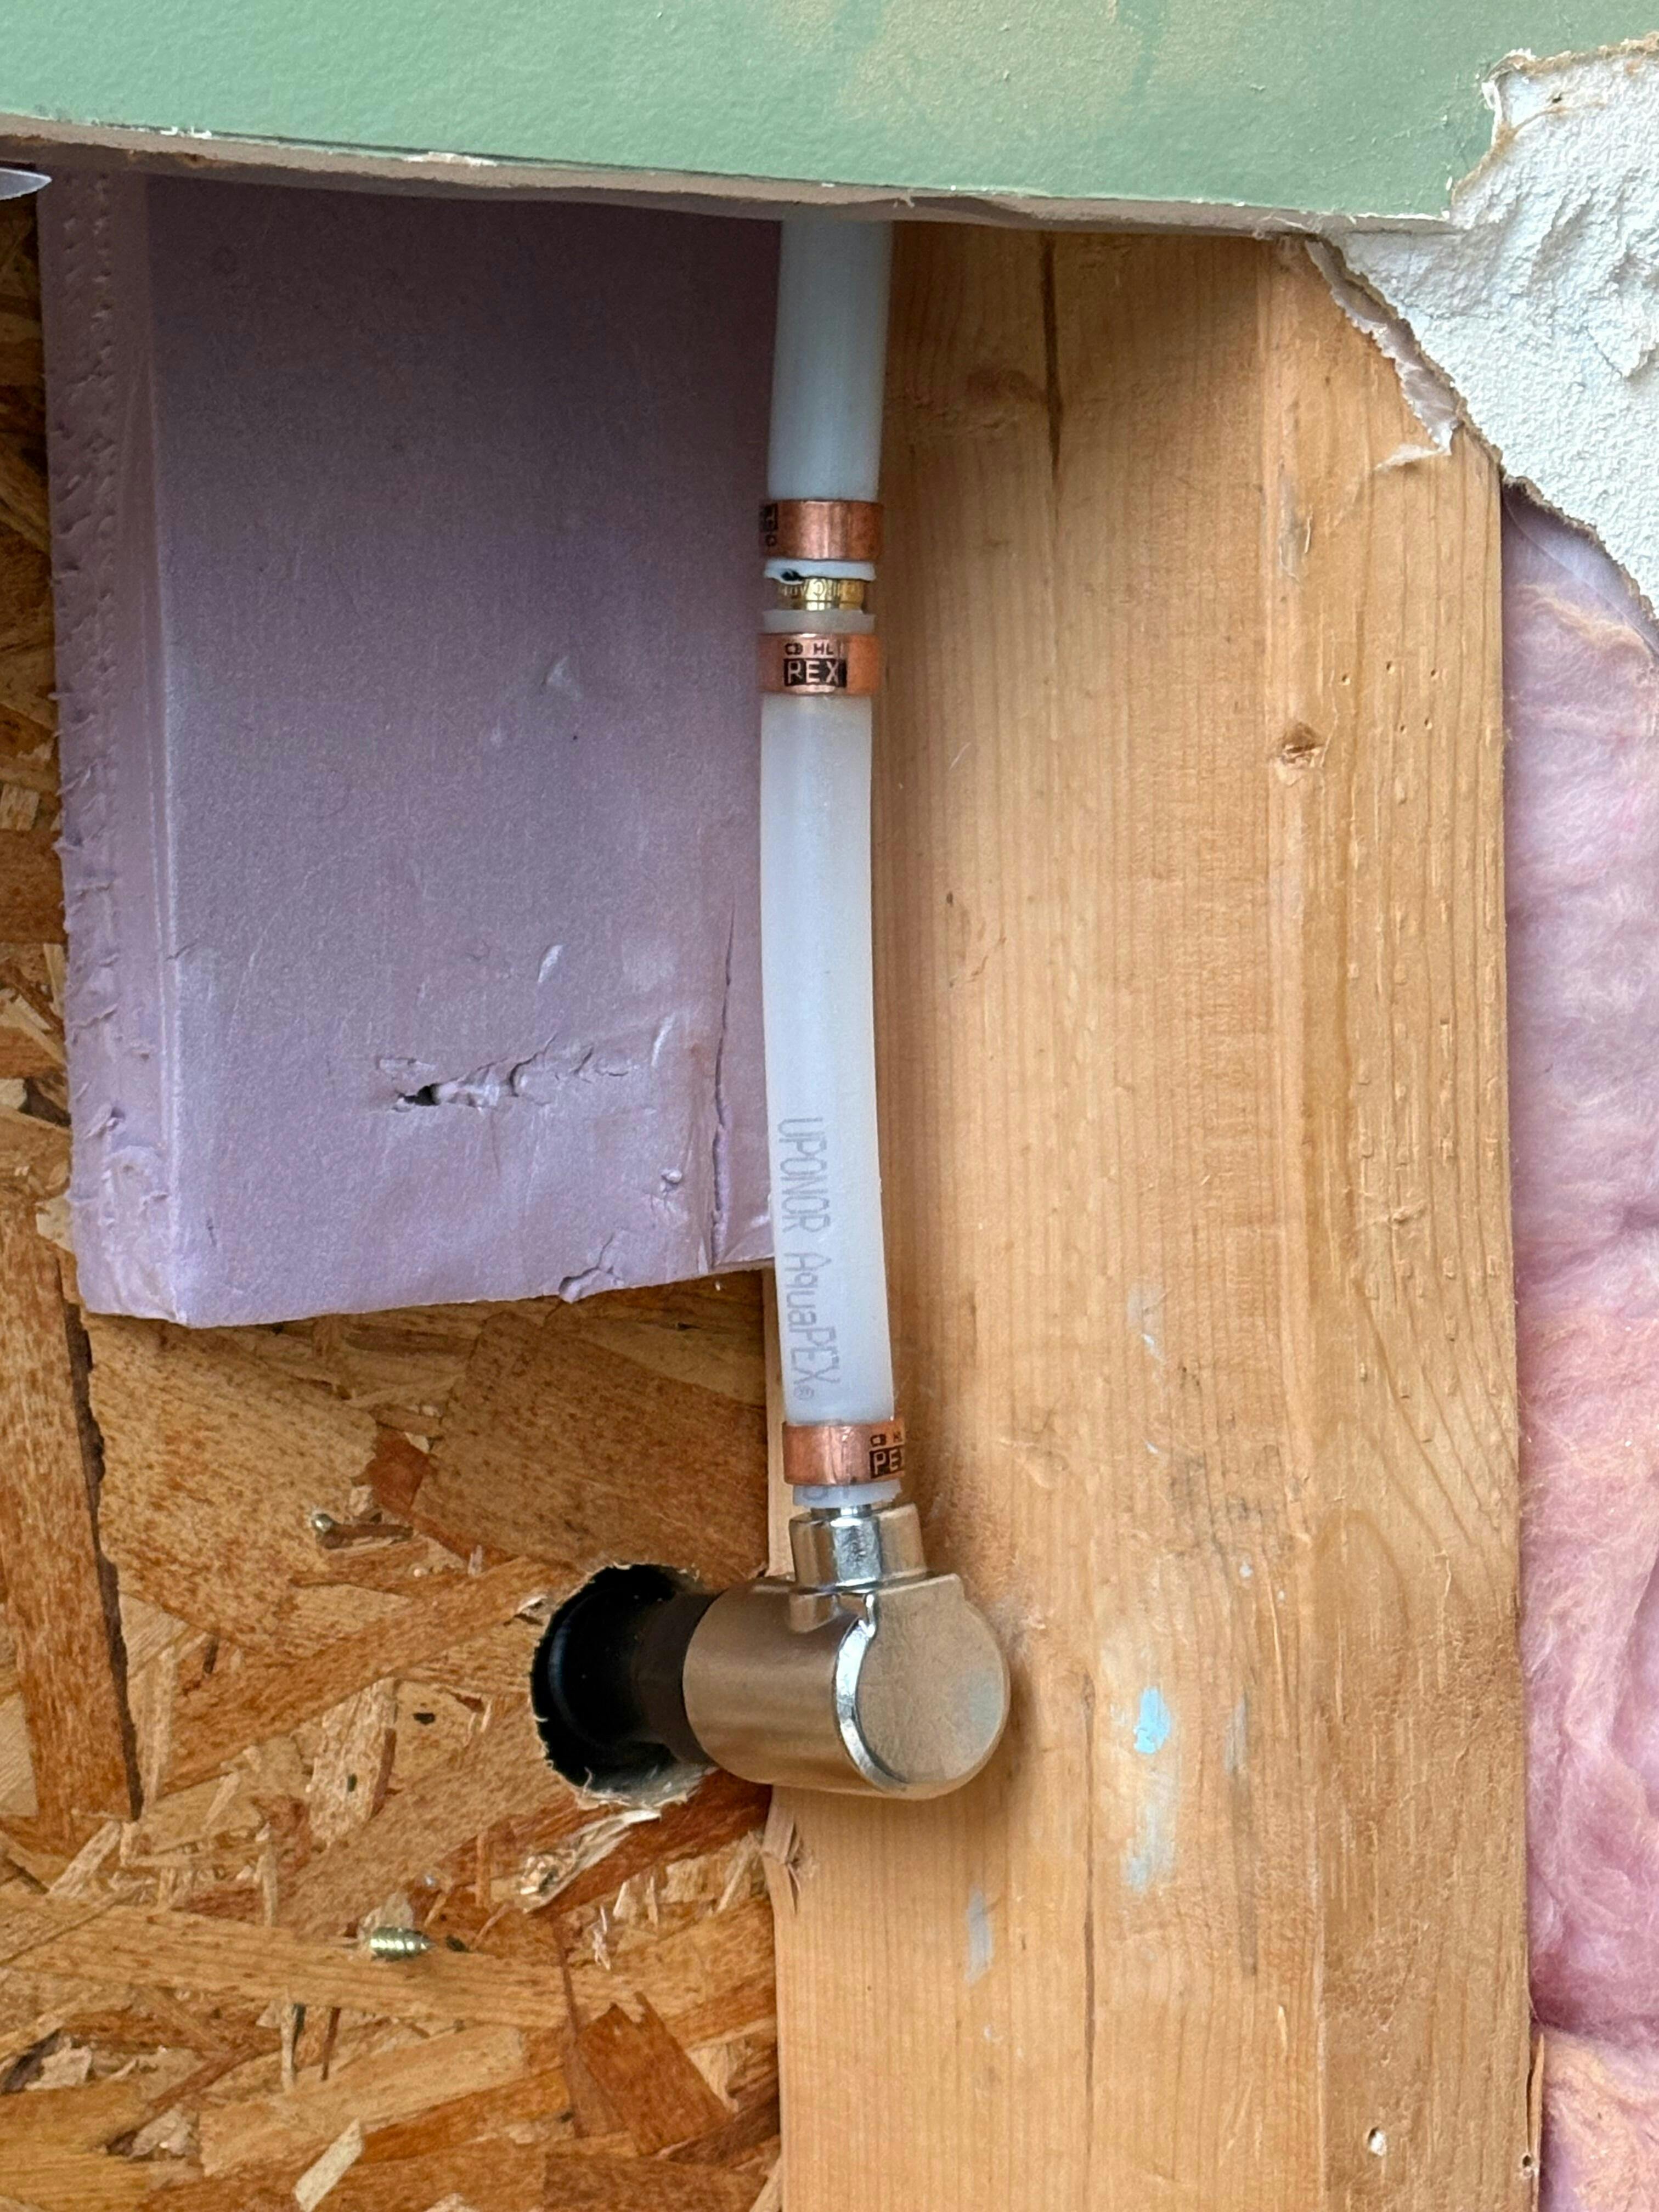
Step 4 - Connect the hydrant to the plumbing
Connect the ground hydrant to the water supply and tighten the threading to ensure a secure, leak-free connection.

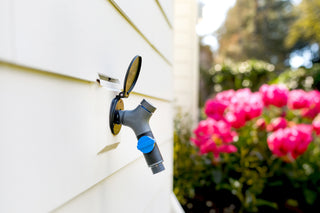
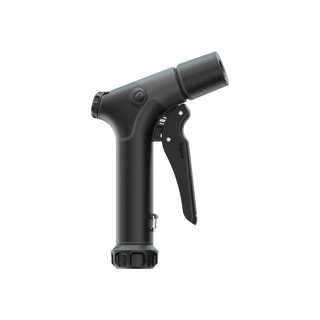
Note: Before the next step, attach the connector to a garden hose. Once the connector is inserted into the hydrant, the water starts flowing instantly.
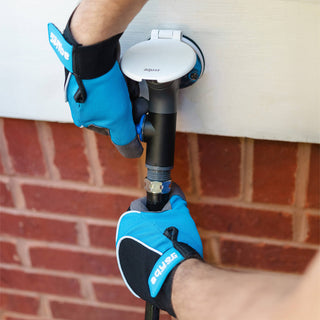
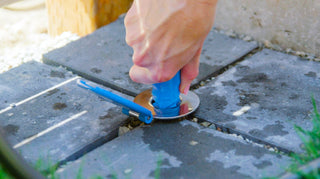
Step 5 - Turn on the water and test the hydrant
Turn the water supply back on and insert the connector to test the hydrant. Confirm the hydrant is operating properly.
Step 6 - Check for leaks and proper drainage
Allow the water to flow for 5-10 minutes. Check for leaks at the plumbing connection point.
Make sure the drainage valve is clear of obstruction. The silicone piece is designed to allow excess water to drain out while preventing debris and bugs from entering the valve. The PVC sleeve protects the silicone piece from damage.
Once you are done testing for leaks, disconnect the connector from the hydrant and ensure the hydrant drains properly from the drain port.

Verify that the hydrant is level to the ground surface.
Step 7 - Fill the hole around the hydrant
Fill the hole below and around the hydrant with medium-size gravel or drain rock. This will provide a proper drain field for the hydrant to empty itself, preventing freezing damage.

Optional: Layer a suitable plastic sheet or landscaping fabric halfway through the filling. This can help prevent soil or fine sand from settling and filling the drain field.
Step 8: Test Again and enjoy!
Test the hydrant one more time to ensure everything is functioning properly.

Once you’re done testing, enjoy years of easy water access with the Aquor Ground Hydrant!