


Aaron of MrFixIt DIY YouTube channel and blog installed an Aquor Water Systems V1+ for convenient outdoor water access on his Hilton, New York home.
Aaron used PEX plumbing to connect the Hydrant to his existing copper line for a simple DIY project upgrade!
First, Aaron shut off the water to the main line.
Then he opened the valve and drained the water remaining in the line.

Draining water out of the line.
He used a pipe cutter to cut the copper supply line, cutting back far enough so that he had enough room to work.
From there he added a shut-off valve for the water line leading to the new hose bib.

Adding a new shut-off valve.
He then removed the old hose bib from the outside in preparation for the new Hydrant install.
Aaron utilized a mounting block, which would provide a flat surface for the new hose bib installation.

Preparing the mounting block.
He added a small piece of 2×6 to the inside of the block to act as a backer. Then he used the provided mounting sticker as a guide when predrilling the block with a hole saw.

Predrilling the block with a hole saw.
Aaron wanted to move the hose bib location up slightly from the old location, so he would have more room to install the siding around it later on.

Aligning the mounting block.
He marked the new entry hole location then used a 1 1/2″ hole saw to drill out the hole.

Drilling the Hydrant entry hole with a hole saw.
Once the hole was drilled he used roofing nails to hold the mounting block in place.

Securing the mounting block to the exterior using roofing nails.
Aaron went back inside and connected a small piece of PEX piping to the newly installed shut-off valve then fed the PEX out to the new Hydrant hole—excess PEX piping allows for easy maintenance down the road.

Connecting the new PEX plumbing.

Excess PEX plumbing makes maintenance easy.
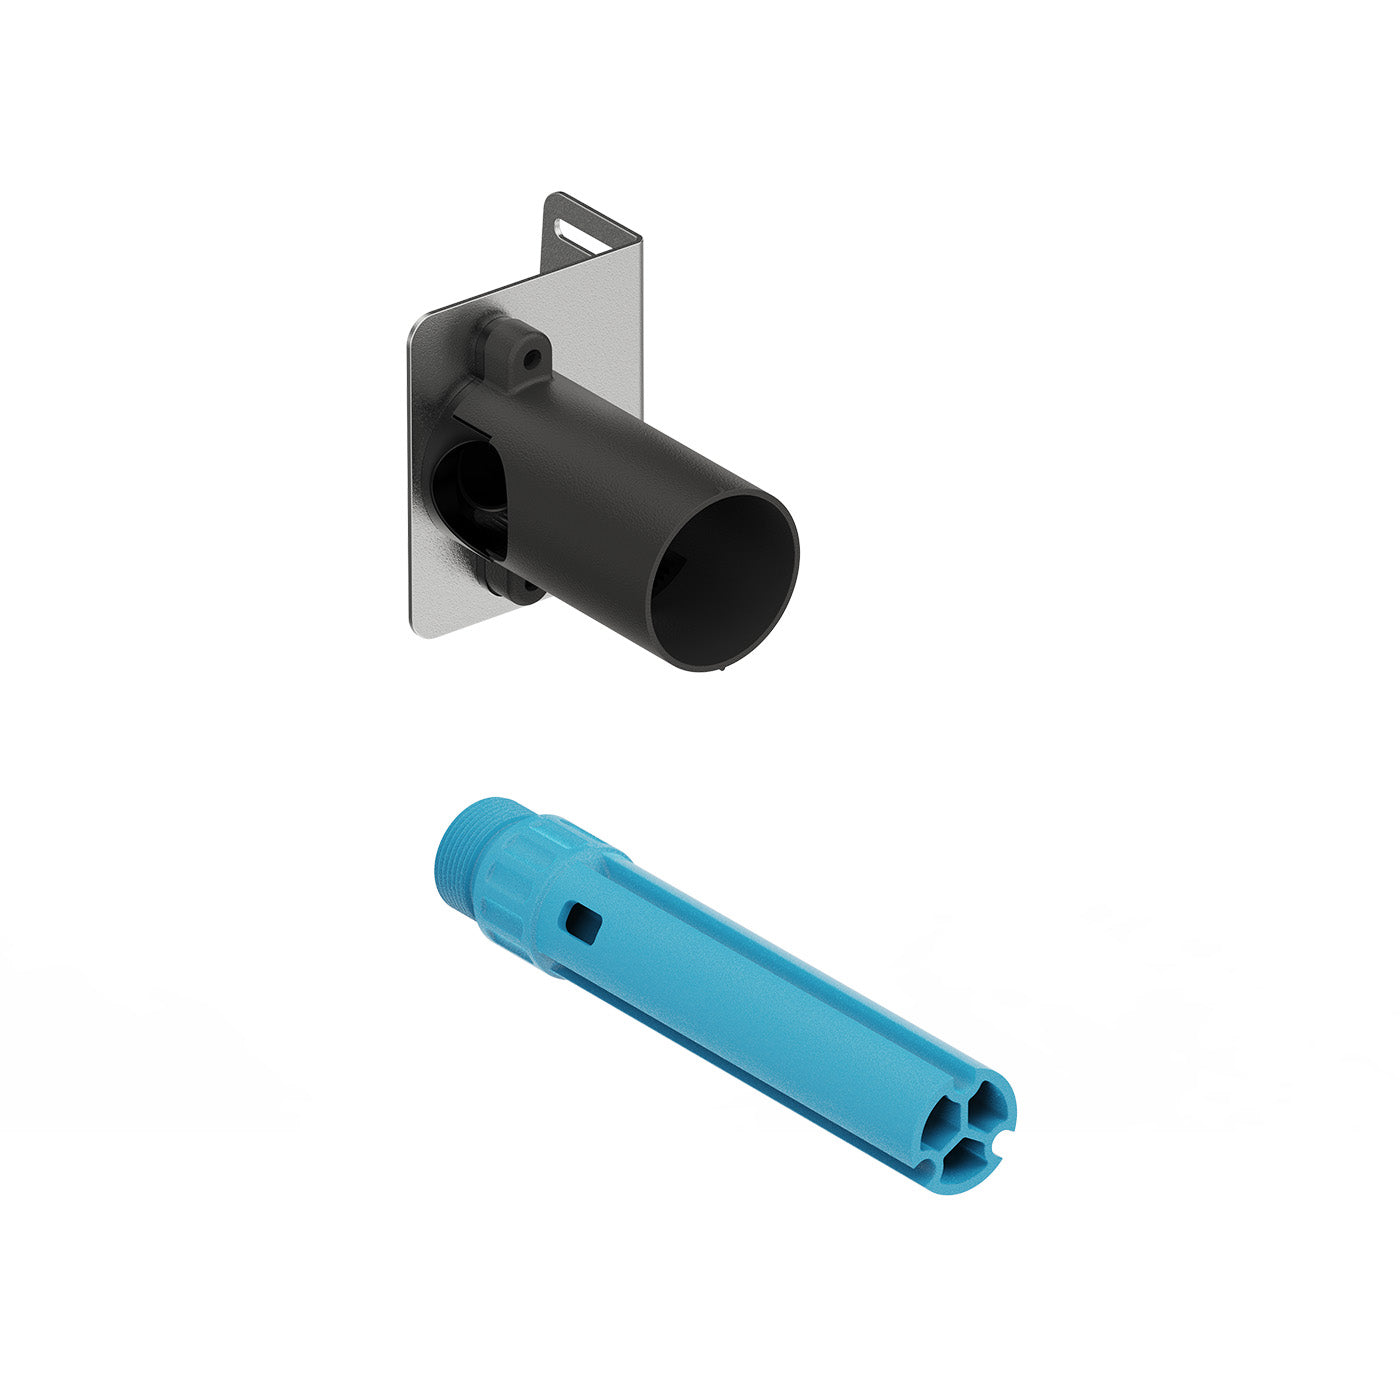
He then added a threaded PEX adapter to the end of the Hydrant using some thread tape and pipe thread compound.

Getting ready to secure the PEX adapter to the end of the Hydrant.

Using thread tape and compound to secure the PEX adapter to the Hydrant.
Aaron used a PEX clamping tool and a clamp to secure the Hydrant to the new PEX line.

Connecting the Hydrant to the PEX.
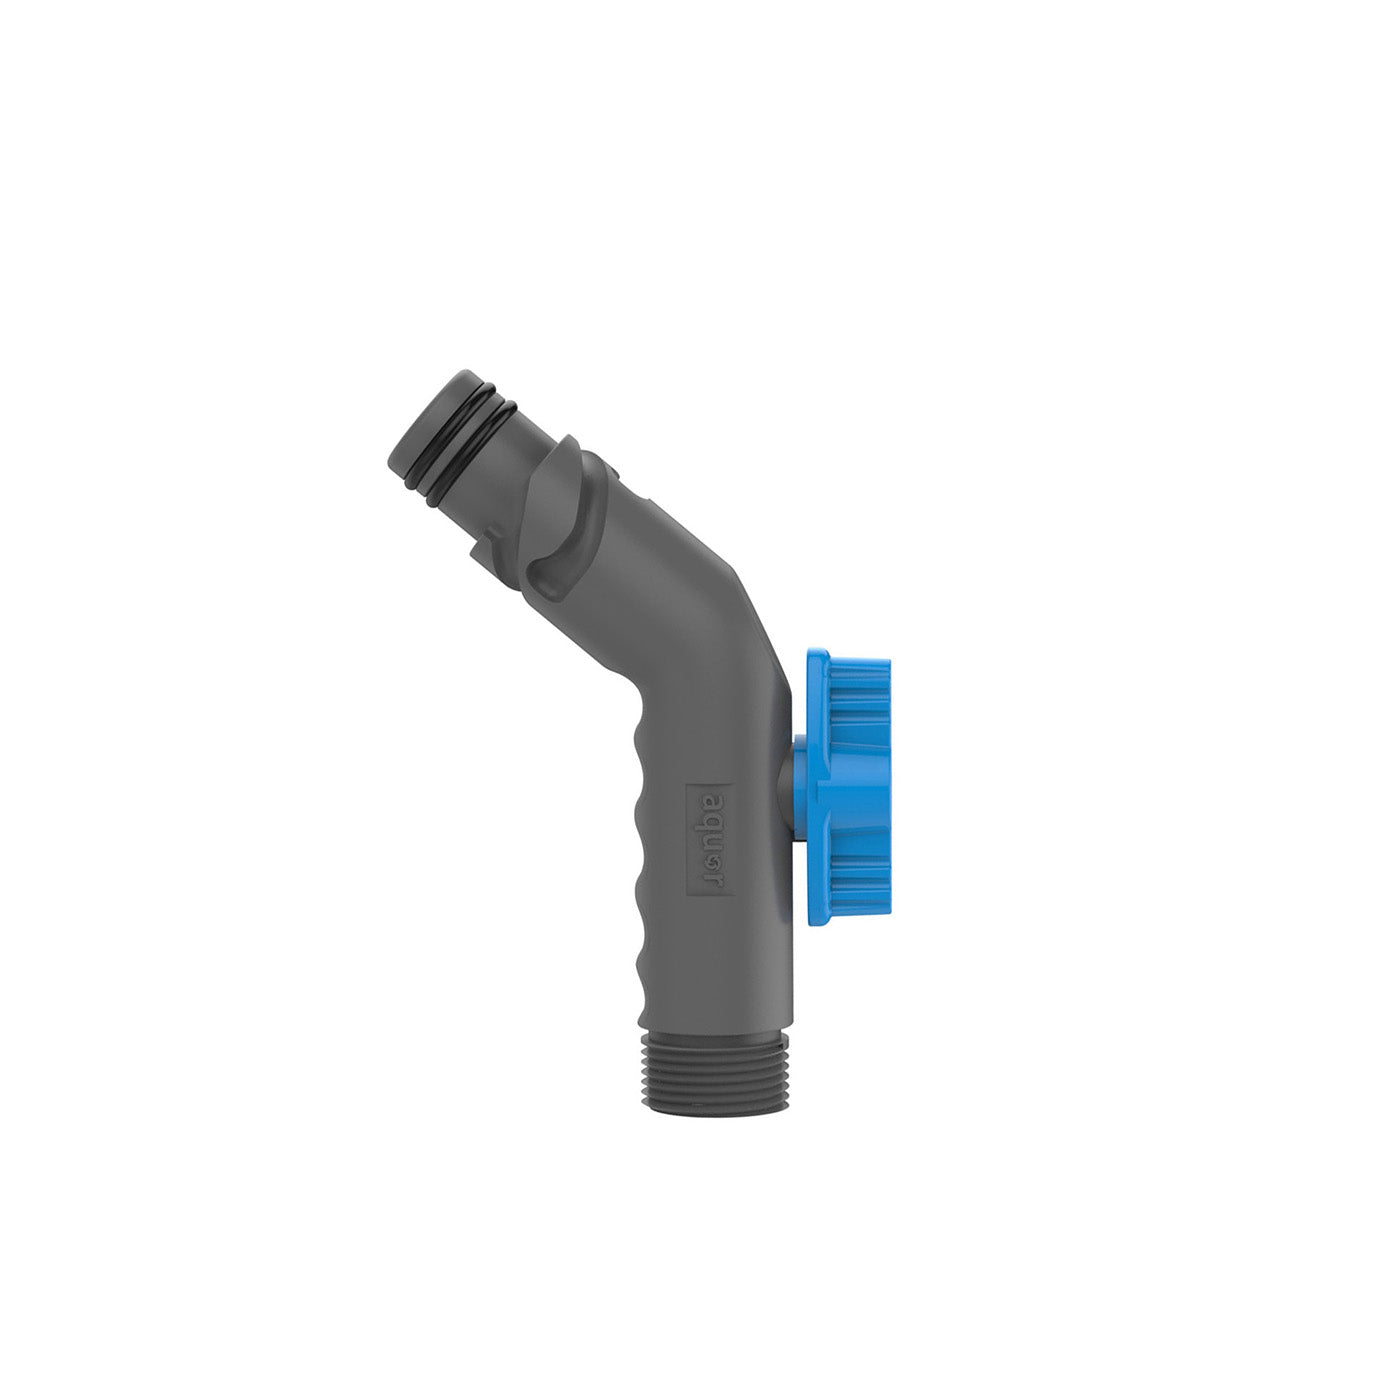
He slid the Hydrant cover behind the faceplate, then screwed the new hose bib in place.

Finishing up the new hose bib install.
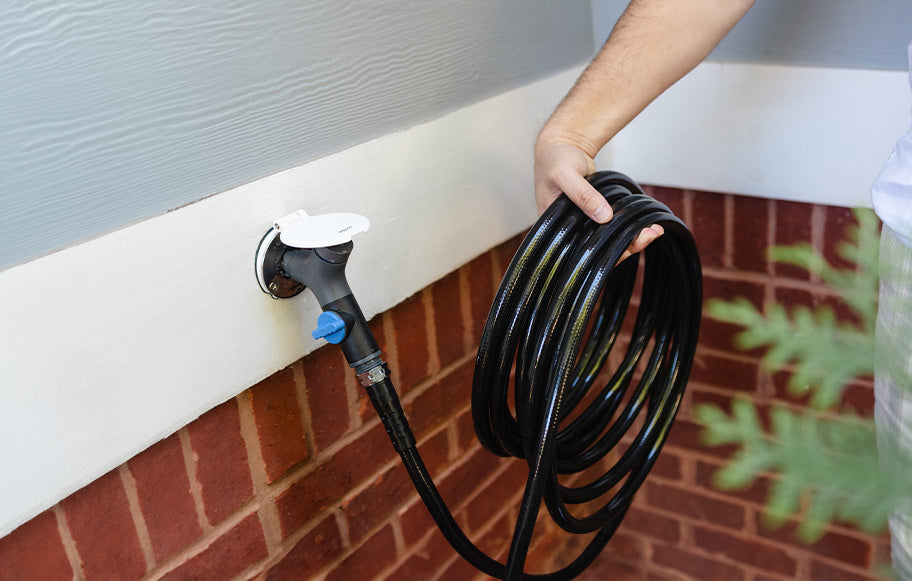
He turned the water back on to check for leaks, then tested the Hydrant out.

No leaks, good to go!
Easy!

Installing the V1+ is no sweat.
“MRFIXITDIY.com is dedicated to producing high quality home improvement, DIY, Build & repair projects, and the tools that make them possible. You can be handy too, you just need a little motivation!”

Time to put this bad boy to work.
View Aaron’s Hydrant install video here.
Explore his blog, and see what MrFixIt DIY is up to on Instagram.

As sleek as it gets.
